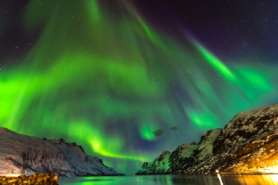
The first rule on photographing the Northern Lights is to head away from any light pollution in towns and cities. If you can find a location which is out in the wilderness, then these make for the best Northern Lights trips. Check the weather to ensure your destination has less cloud cover. Places like Abisko Sweden and Porsmork in Iceland, have their own microclimate, which means less clouds, so more clear sky. If you can see stars then this is a good sign.
The best cameras for dealing with the cold when taking photos of the Auroras are cameras that you can set to manual mode. This includes DSLR’s and Interchangeable lens cameras as they are better able to deal with the extreme climate. All other cameras and mobile phones are likely to drain their batteries very quickly.
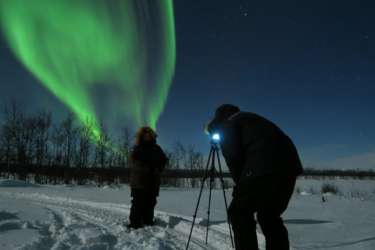
When packing for your Northern Lights trip, take a camera which has the ability to have an open shutter for long periods. If your camera has a bulb mode, then a cable is a good investment as you won’t accidentally risk motion blur when touching your camera. A sturdy tripod is essential as the shutter will be open too long for even the steadiest hand to hold still (up to 30 seconds). In terms of lenses, a super wide lens with an aperture of f1.4 or f2.8 is ideal. Pack plenty of batteries as even the best cameras can suffer from battery drainage in the course of 3-4 hrs outside photographing the Northern Lights. The final thing is several SD cards to fit your camera. 16MB is a good starting point.

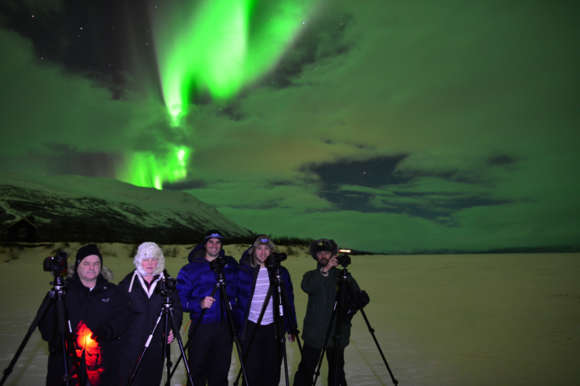
Set up your tripod and camera to around chest height. On manual mode, begin with ISO 1600 and 15 seconds shutter speed. This will vary between camera to camera, but is a good point to start. Set your aperture to the widest it will allow.
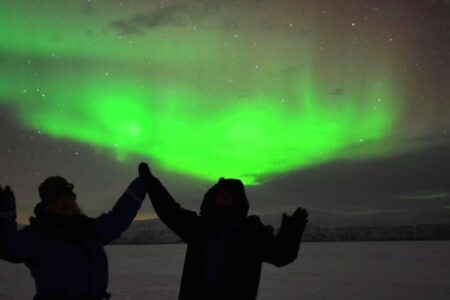
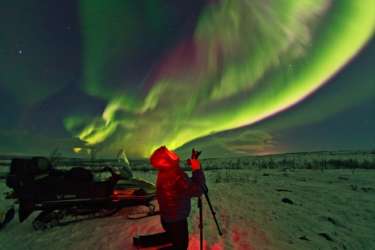
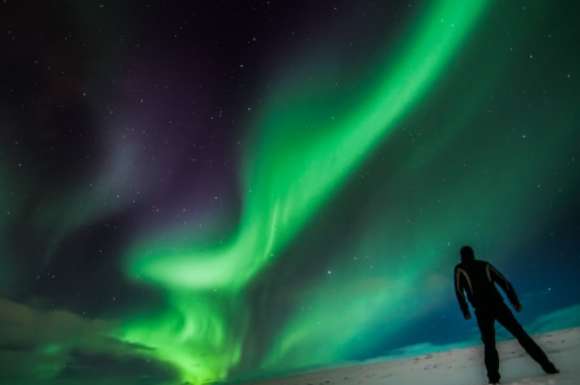
Start taking photos in different directions, but mostly north. You should find that if the Northern Lights are out, your camera will pick up a green band before you see it. This is because human eyes can take around 20mins to become acclimatised to the dark after artificial light. For this reason a headlamp with a red bulb will help to preserve your night vision.
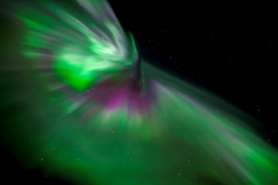
As the aurora starts to get brighter you need to adjust your settings accordingly. Start by bringing down your ISO. Always check the brightness of your image on the histogram and never rely on the camera preview screen.
If the Northern Lights cast a shadow, you need to change your exposure times quickly. The best Aurora shots occur during these brief moments. A faster shutter of 8 – 20 seconds will preserve some of the details of the display.
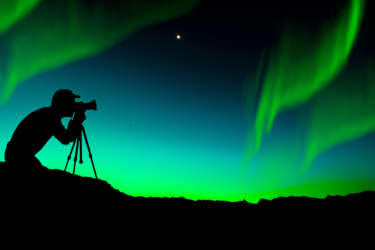
Sometimes you cannot avoid star trails, though some people quite like this. If you don’t trust ISO 800 and your lens stops at f4, you might be exposing for 2 minutes with a weak aurora. Generally it is preferred to expose for less than 30 seconds to prevent noticeable star trails.
The final part is very important. Once you have packed up your camera gear and arrived back at your accommodation, leave your camera in its bag. As tempting as it is to look at your photos, both the camera and SD card need time to return to room temperature and avoid condensation on your lens. By morning it will be safe to view.
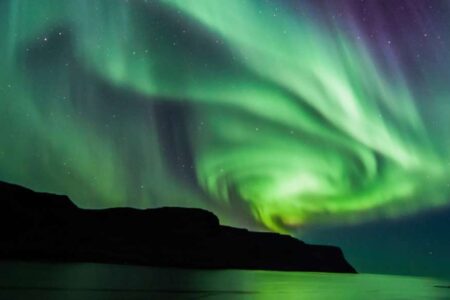
- See our Abisko Sweden Northern Lights breaks
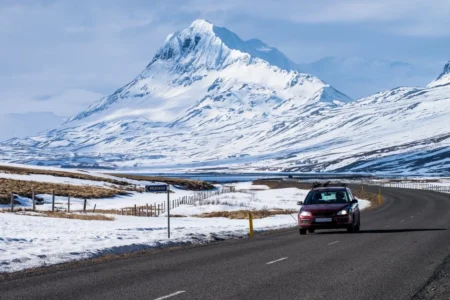
- See our Northern Lights Iceland Trips